Keeweb Tutorial
Welcome to the Keeweb Tutorial! On this page, we'll give you a basic walk through of how to work with the Keeweb password client.
Warning: Make sure you've gone through the keeweb setup guide before going through the rest of this tutorial
What are we doing?
In this tutorial, we will show you how to perform the two core tasks of a password manager
- Create new passwords
- Use those passwords
Creating Passwords
Login
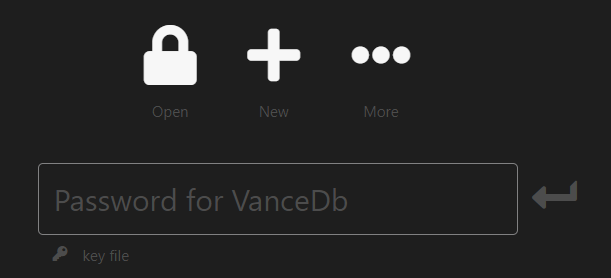
First, let's log into our password manager. When you open Keeweb, you'll be once again greeted with the dark window showing a password entry textbox and a few buttons above it.
- Enter your password and press enter/return to login.
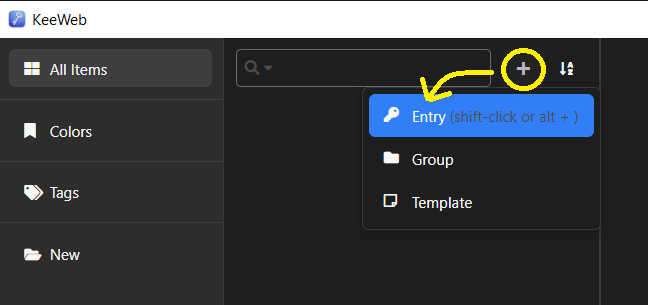
Again you'll find yourself in the password list (which is likely empty). At the top-middle portion of the window, you'll see a search-box along with a plus button and a sort button.
- Click the plus button, then click Entry
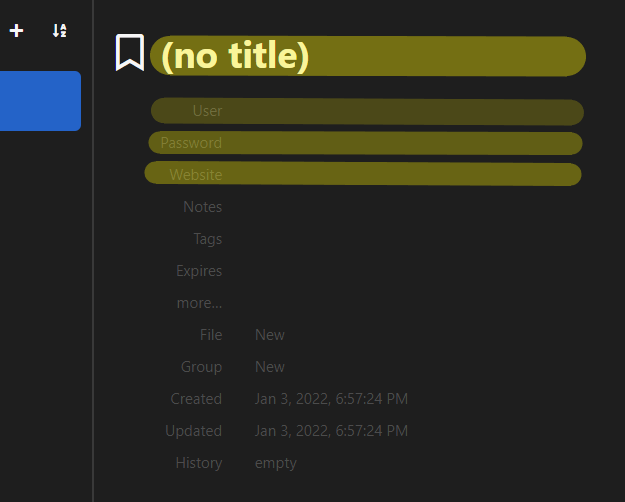
On the right side of the window, we'll now have a set of fields we can use to create our first password entry.
The large text field at the top (with the name "no title") is the name of the password entry; you'll want to name it something relevant. For example, if you were saving a password for your Chase bank account, you might call it "Chase Bank Account".
Next, we have three more important fields: User, Password, and Website
Useris the username you use to login for this accountPasswordis the password you'll use for the accountWebsiteis the website for that account (It's all so self-explanatory, I know)
The password generator
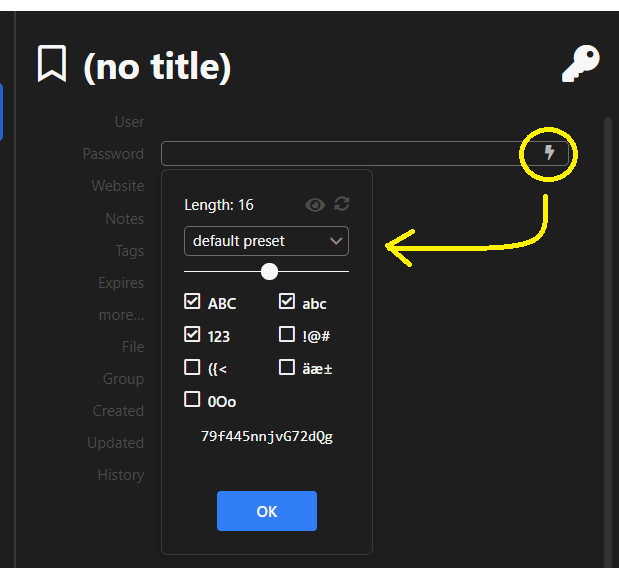
All of these fields are free-form entry (you can type whatever you want), but you'll notice for the password field, there's a little lightning bolt symbol on the right side of the textbox - This is the generate password button.
When you click it, you'll see a small popup that gives you the ability to determine how complex of a password to create. The dropdown at the top has a few presets you can pick from. Below that is a slider which allows you to change the length of the password; the checkboxes give you the choice of what types of characters should be used in the password. At the bottom, you'll see an example of the type of password that will be generated for the selected settings.
I highly recommend using the password generator. There's no need to actually think up passwords anymore, since you'll want to simply copy-paste the passwords straight from your password manager.
- When you're satisfied with the password generator settings, click Ok
Feel free to enter in some info for the other fields described above (Title and website), then move on to the next section.
Save your new password
Great! We've successfully created our new password, but it won't be saved until we sync up with google drive. To do this:
- Go to the password settings page by clicking the button in the bottom left corner with the open lock
symbol
(Clicking it again will navigate back and forth between the settings page and the password list)
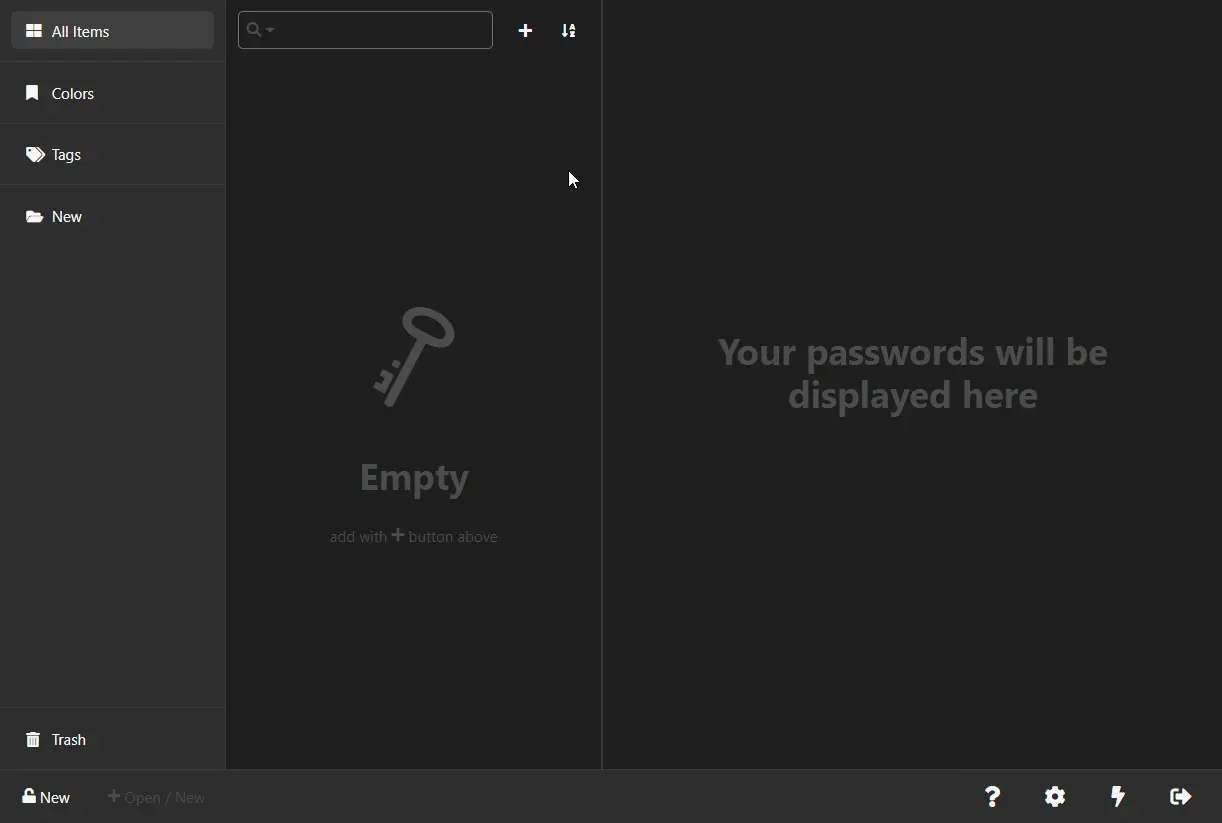
- Then, click Sync
That's it! You've successfully created and saved your first password.
Using passwords
Now that we've created a password, using them is simple.
- Navigate back to the password list page (If you've been following along with this tutorial, simply click the bottom left open lock symbol)

In the password list along the upper-middle portion of the window, you should see the new password you created; click on that password entry if it isn't already selected.
On the right side of the window, you'll see whatever info you've typed in for that entry. To use the password:
- Move your mouse over the word Password and left-click. You should see the word "copied" pop up -
this means the password is now in your clipboard and ready to be pasted.
(You can copy any of the field names to the clipboard in this manner as well)
Now you can go to whatever website you want to login to and paste the password. That's it!
Thanks for following along, happy password managing!